- Are you new to housecleaning-tips.com: Start Here
- Claim your free copy of our Special Report: "How To Clean Your House: Advice From the Past"
House Cleaning Checklist Tutorial: High-Touch Surfaces
Disclosure: Some of the links below are affiliate links, meaning, at no additional cost to you, I will earn a commission if you click through and make a purchase.
When it's flu season, if one of your family members come down with it, cleaning and disinfecting the high touch surfaces in your home regularly is vital.
A checklist is a great way for you to stay on top of that. With a comprehensive checklist for your home, you won't miss any of these surfaces.
Now, I could go ahead and just make you a checklist, but it would only be based on my own home. I expect that your home setup is a bit different from mine, so I've created a short checklist done two different ways. I'll show you how to make them so you can follow along and make your own printable checklist.
The first one is the easiest, not the prettiest, but is functional. Here's what it looks like...
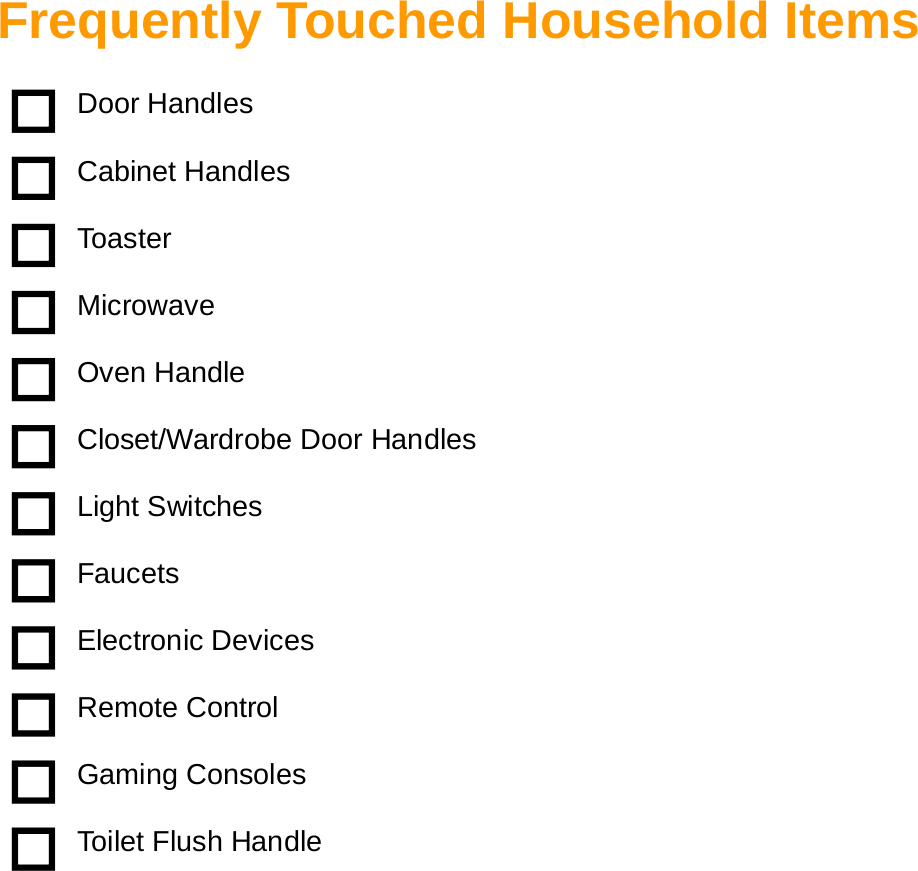

Of-course, if you have cute stationery to print it out on then this first one works.
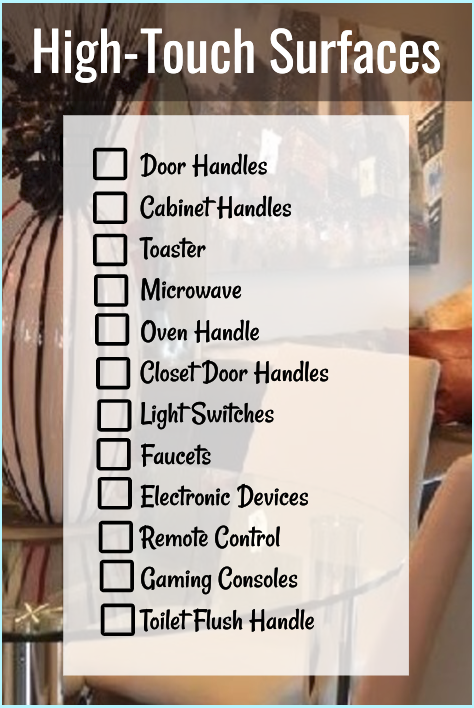
The second one was a bit more time consuming to make, but is pretty and functional. Plus it was fun testing my limited design skills. Here's how it turned out...

High-Touch Surfaces Checklist Method 1: Made on housecleaning-tips.com
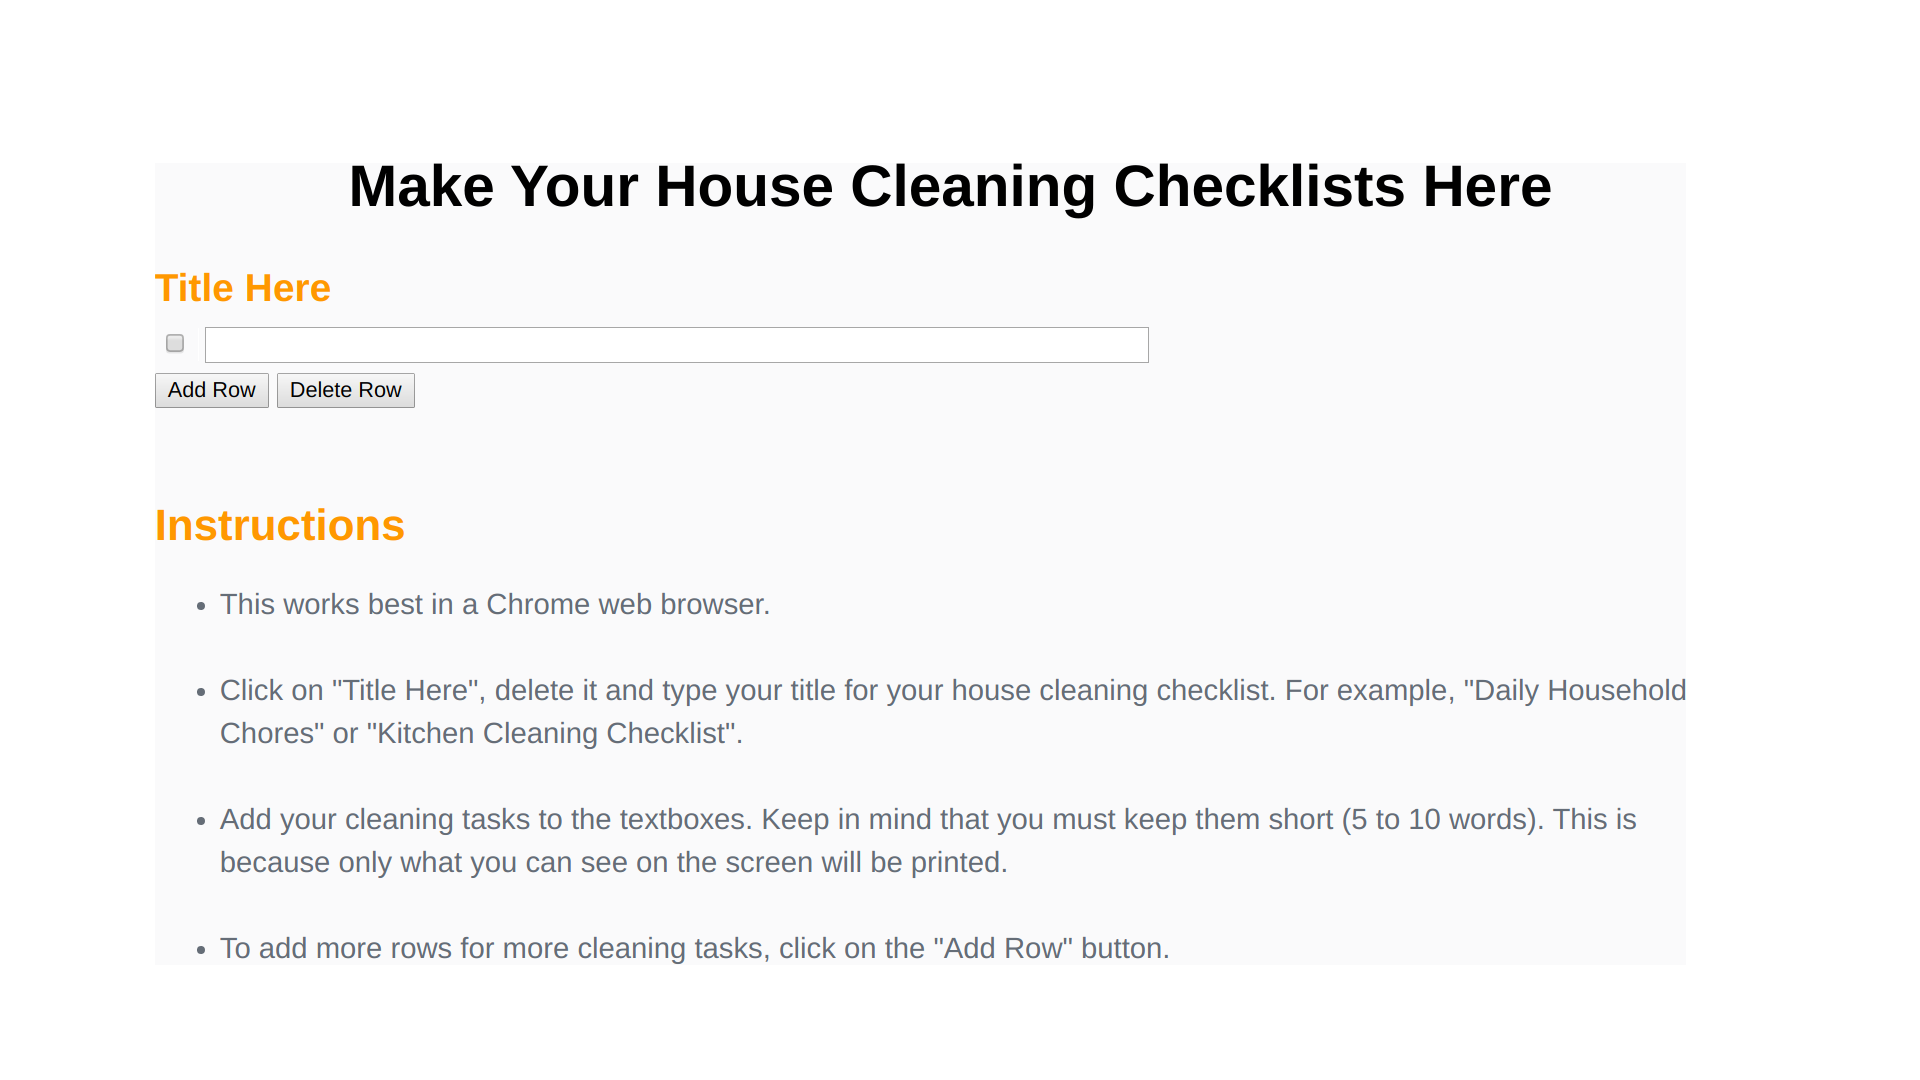

- Step 1: Go to make-cleaning-checklists.html. You will end up on a page that looks like the image above.
- Step 2: Change the "Title Here" text to "High-Touch Surfaces", or change it to to whatever you want to call your checklist...
Change Your Checklist Title - Step 3: Add your first item to the visible textbox, then hit the "Add Row" button to add your second item and so on. Keep going until you can't think of anything else to add to the list. Note that only what is visible on the screen will be printed and one page can hold about 20 items.
Add items to checklist - Step 4 (if needed): If you change your mind and want to remove a particular item on your list, click in the checkbox next to it and hit the delete button.
- Step 5: Save your checklist as a pdf file or print it directly by hitting 'Ctrl + p' on your keyboard. The screen that pops up gives you the option to save as pdf or send to a print. Right now I have mine as save as pdf. I suggest you save it, that way you can print it anytime.
Save your checklist.
High-Touch Surfaces Checklist Method 2: Made with Stencil
This video gives you an idea of what Stencil is about. After that I'll show you the steps that I take to make the checklist.
I decided to use Stencil mainly because I wanted to create prettier checklists. I'm new to using it so I think that I've done this the hard way, but I do like the results and will keep on working on it.
- Step 1: Go to the Stencil website. Once there, click on the "Start creating images" button. This will take you to a pricing pages. Just choose the free option. Note, I'm already signed in so this takes me directly to the application. So at some point you will be ask to create a free account with an email and password in order to continue and be able to save and download your creations.
- Step 2: On the left hand sidebar click on "Uploads". I already have a few pictures uploaded so I can just choose one. The image that I choose will be used as a background, so go ahead and choose a picture to upload. If you don't have any, instead of clicking on uploads, click on "Photos" at the top of the sidebar and choose one that you like from there. In the display, you image will fill the box.
- Step 3: Click on the toggle button to the right of the box with your background image (Optional). It will make the box the focus. Next, a textbox will appear on your background image when you click on the text button above the toggle button. The pop-up to the left of your image will show you how you can style your text.
You can change the font, the text size, line height, text colour, background colour of the text, etc.
- Step 4: Use this first textbox as the header which will read, "High-Touch Surfaces". Of-course your title can be whatever you like. Then style the text as you like and move it to the top of your image. The video below will show you an example of how to do this.
- Step 5: Hit the textbox button again on the right. Another textbox will appear on your image. You will use this one for the list of items.
Style the text as you which (see example in video below) and move it to a position below the top textbox. In the example, the text is black and the background is white.
- Step 6: Get a checkbox. Exit the toggle mode and go to "Icons" on the left sidebar. In the search box, type 'checkbox' and choose one you like. When it appears on your image, resize it and move it to your textbox with the white background.
Next, change the toggle mode again for better focus. Style as shown in the video below and start adding your list of items.
- Step 7: Continue typing out your entire list of items.
- Step 8: When your list is complete, position your list as you want it on the image. Left align the text and put enough spaces between the text and the checkbox.
- Step 9: Decide on the font you would like to use. I finally landed on 'Rancho'.
- Step 10: Increase the line height of your list. Then adjust the positions of the list and the checkbox.
- Step 11: Make checkboxes for each item on your list. To do this, click on the checkbox in you image, then at the bottom of the grey pop-up on the left of your image, hit the 'Duplicate' button. A new checkbox will appear. Using the left, up and down arrows on your keyboard, position the checkboxes to the left of your items.
- Step 12: Once you're happy that all your checkboxes are lined up, hit the toggle mode button. Now you should be able to save your image. Once saved - just click on 'Saved Images' on the left sidebar to see it. You will also be able to download your image once saved.
- Extra: Change the transparency of your text background.
One way that the second method could be sped up is by making the checklist in method one, then grabbing an image of just the list. Upload to the Stencil application and add it the your image.
The quality may not be as clear, but it's worth a shot.
If you would like more house cleaning tips - claim your free subscription to the Saturday Morning Cleanup and free report on 'How to Clean Your House' below...